Category Archives: Converting original avionics

Completing avionics installation

Just after completion of installation of Boeing OEM TQ and pedestal. TQ was heavily modified by Art May-Alyea at Northern Fligth Sim, with custom interfacing to provide functionality. Pedestal components by FDS, except the fire panel, which is Boeing OEM.
Just after completion of installation of Boeing OEM TQ and pedestal. TQ was heavily modified by Art May-Alyea at Northern Flight Sim, with custom interfacing to provide functionality. Pedestal components by FDS, except the fire panel, which is Boeing OEM.


Having finished the modification of the FMS/CDU bay, I continued my top-to-bottom avionics installation. One of the most critical components, the Boeing throttle quadrant, is located just aft of the FMS/CDU bay.

The TQ I have was purchased several years ago from Art May-Alyea at Northern Flight Sim. Art has a wealth of experience converting old TQs from classic models to closely resemble those used in the NG. He completely disassembles the units, refinishes and paints all the components, installs microswitches to detect every switch position including every detent on the flap lever, then fits the assembly with motors for the trim wheels and throttle levers, as well as servos for the speed brake lever and trim indicator.

Art supplies the TQ conversion with bare wires coming out the front, and interfacing is up to the user. Full details of how I chose to complete the interface will be described in a later post, but the short version of the story is that most of the TQ is connected to a BU0836X joystick controller card from Leo Bodnar. The 12v motor driving the trim wheels are connected to  a PhidgetsMotorControl HC card. The throttle levers are driven by two 12v motors fitted with slip clutches and interfaced to two Pololu Jrk 12v12 cards.

The pedestal itself is a Boeing OEM unit that came with the full cockpit I purchased from eBay in 2010. The frame  was removed, fully stripped, restored  and repainted in the colors of a typical NG model prior to reinstallation. All of the radios and other avionics in the pedestal were provided by FDS, and are purpose built for the simulation market. The one exception is the fire panel in the most forward part of the pedestal frame: this is a Boeing OEM unit that I reverse engineered and will describe in a future post.

Avionics installation in progress. Overhead, MIP and FMS/CDU bay essentially complete. Preparing to install TQ. FO seat installed temporarily to have a place to sit while performing avionics testing. Milk crates used as computer monitor and keyboard stands.


Prior to proceeding with installation of the trim pieces and back wall, I spent several months checking avionics functionality to determine whether I would need to run any additional wires behind any of the panels. Access to the back of the overhead panels is fairly easy thanks to FDS mimicking the OEM design . I didn’t think of everything, but I got most of the major kinks worked out prior to proceeding with the finish work.

FDS forward overhead panel viewed from the forward position. Boeing OEM mount allows the panel to swing down for maintenance access by turning two Camloc fasteners. FDS-SYS1X interface card at the top has capacity for 128 switch inputs and 256 LED outputs. Gauges are by Flight Illusion. Solenoid starter switches at the bottom are Boeing/Cole OEM units interfaced via FDS-SYS-R1X card. Purple wires run to switches and annunciators. Grey ribbon cable to gauges. Yellow and black wires control 5v panel backlighting.

Exchanging landing gear lever wheels

Boeing landing gear lever after installation of FDS NG-style smaller wheel knob.

Having previously installed my original Boeing landing gear lever, I decided to remove the old, yellowed ‘large’ wheel typical of the -200, -300 and -400 models, and exchange it for a smaller one more typical of the NG series.

For the small one, I decided to use the wheel and bracket from an FDS landing gear lever that I had left over from the disassembly of their MIP.  This was easily separated after removing four hex screws.

Drilling out rivets from original Boeing landing gear lever with large, classic style wheel knob.

The Boeing bracket holding the wheel was riveted in place, fortunately with solid rivets instead of blind rivets, which are generally much harder to remove. I was able to quickly drill out the rivets and remove the old bracket/wheel combination .

Tapping Boeing landing gear lever to accommodate FDS smaller, NG-style wheel knob holder.

Installing the FDS bracket/wheel required tapping some threaded holes to accept the hex screws. This was a quick modification that looks really good in the end, even if replacing the rivets with screws is not completely authentic.

Converting an original landing gear lever

Red lights indicate gear in transit or abnormal condition, green lights indicate gear down and locked. After replacing four burned out GE 387 lamps, the "test all" lights up all six annunciators. The right gear down indicator at bottom right needs to be re-surfaced, but the others are in pretty good shape.
Red lights indicate gear in transit or abnormal condition, green lights indicate gear down and locked. After replacing four burned out GE 387 lamps, the “test all” function lights up all six annunciators. The right gear down indicator at bottom right needs to be re-surfaced, but the others are in pretty good shape.

In this post I will describe how I figured out the wiring diagram for a real Boeing 737 landing gear lever mechanism, including the solenoid and  Korry lights.

I’ve seen (and even owned) several landing gear levers that were designed and marketed for the home simulation market, but they just don’t have the heavy tactile feel of the real thing, and I’ve never seen any that have a working solenoid or override lever. The cockpit I bought fortunately still had the original gear lever still in place, complete with the six Korry annunciators that serve as gear position/transit lights.

Sturdy Boeing landing gear lever. 28 volt solenoid at the bottom releases the lock when energized. In the real aircraft this happens when logical conditions are met indicating the aircraft is not on the ground and therefore safe for gear retraction.

The solenoid is a 28 volt device that, when energized, allows the lever to be pulled up to initiate a gear-up cycle. In the real aircraft, a number of logical conditions must be met for the solenoid to be activated, which prevents the gear from being raised while the aircraft is on the ground. The gear handle itself is equipped with an override trigger that allows to pilot to raise the handle in the event that the solenoid fails.

Lever position switches. The two gold-colored lever position switches are visible at bottom left. Thin tube at top right carries power and ground to the solenoid. All wires feed into a cannon plug on the far right.

The solenoid wiring was easily determined as there were only two wires, one of which had to be 28 volt and the other a ground. The position switch wires were also easily traced back to the cannon plug. I was surprised on initially removing the assembly that only the gear down position had a switch installed. Although holes were present for mounting a gear up switch, the switch itself was missing. I can only assume that in the real aircraft the up position is read somewhere along the cable that runs to the actuator.  For my simulator I just added an identical switch scavenged from another part of my project.

There are several manufacturers of annunciators for the home simulation market, but once again, there’s nothing quite like the real thing which have the press-to-test function available.

The wiring of the model 319 type 1 Korry annunciators have been described by David Allen. These are ground-seeking type circuits with 4 terminal lugs. Terminal 1 is the 28 volt input voltage. Ground terminal 2 to illuminate the indicator. Terminal 3 is grounded for a ‘test all’ function that lights the indicator, but extinguishes the light when pressed. Terminal 4 is grounded for a press-to-test function.

The wiring scheme is as follows:

24-pin cannon plug:

  • Pin 3: common to all terminal 3’s (test all function)
  • Pin 4: nose red terminal 2
  • Pin 5: nose green terminal 2
  • Pin 6: right red terminal 2
  • Pin 7: left red terminal 2
  • Pin 8: right green terminal 2
  • Pin 9: left green terminal 2
  • Pin 10: common to all terminal 4’s (press-to-test function)
  • Pin 14: +28v to the reds
  • Pin 16: +28v to the greens
  • all other pins: unused

12-pin cannon plug:

  • Pin 1: ground
  • Pin 2: +28v
  • Pins 4 and 5: gear up switch
  • Pins 6 and 8: gear down switch
  • all other pins: unused


Work starts back up on two fronts: the real nose section and the avionics test bed.

In late October my wife and I finally moved into our dream house: a place big enough for our menagerie of two dogs and two cats, with ample room left over for the ultimate man cave: a full size, fixed-base Boeing 737 simulator in the basement! Unfortunately all the tasks associated with moving brought progress on the sim to a grinding halt for close to six months.

The avionics test bed in my basement. Looks pretty spare right now, but in a few weeks this will be all lit up by a network of five computers to start testing avionics.

I did manage to bring home most of the gear I had acquired prior to taking the major leap of buying an entire nose section. I set this up in the basement with the idea of making an avionics test bed for the additional real Boeing parts that I continue to find on eBay and other internet sources. The dual-linked flight controls, throttle quadrant and projection screen were made by Art May-Alyea of Northern Flight Sim. I had a steel frame made at my local metal fabricator that allowed me to hang the overhead panel in the proper position on the ceiling. It’s not flying yet, but I will need to get it running soon, as I just acquired a real fire control panel and other real parts that need to be interfaced.

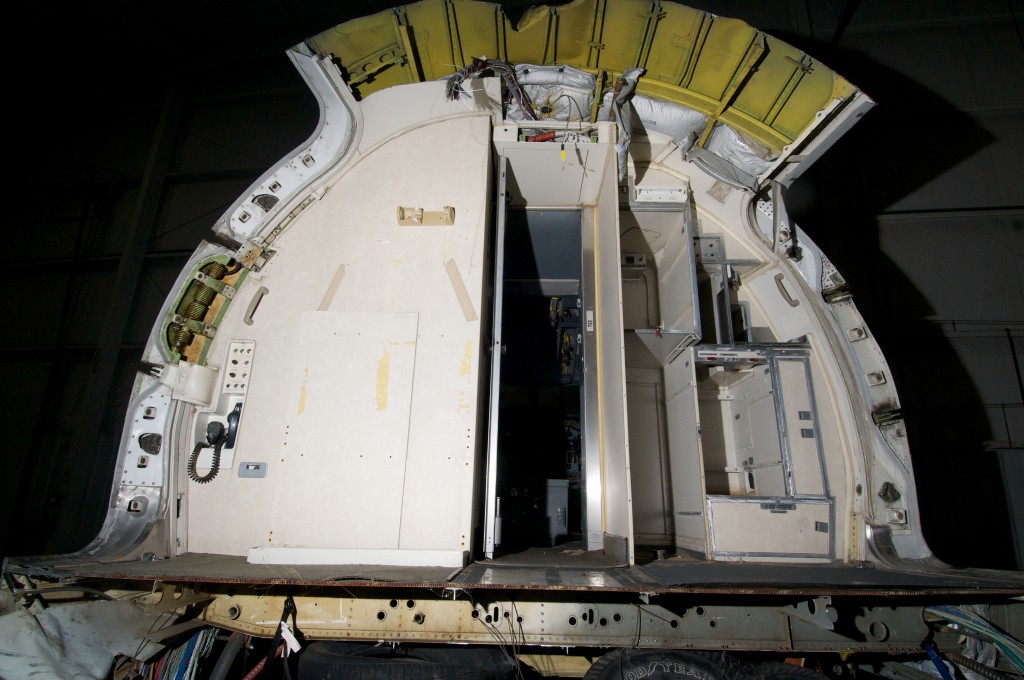
The lav, left, and the galley, right, flank the cockpit door.

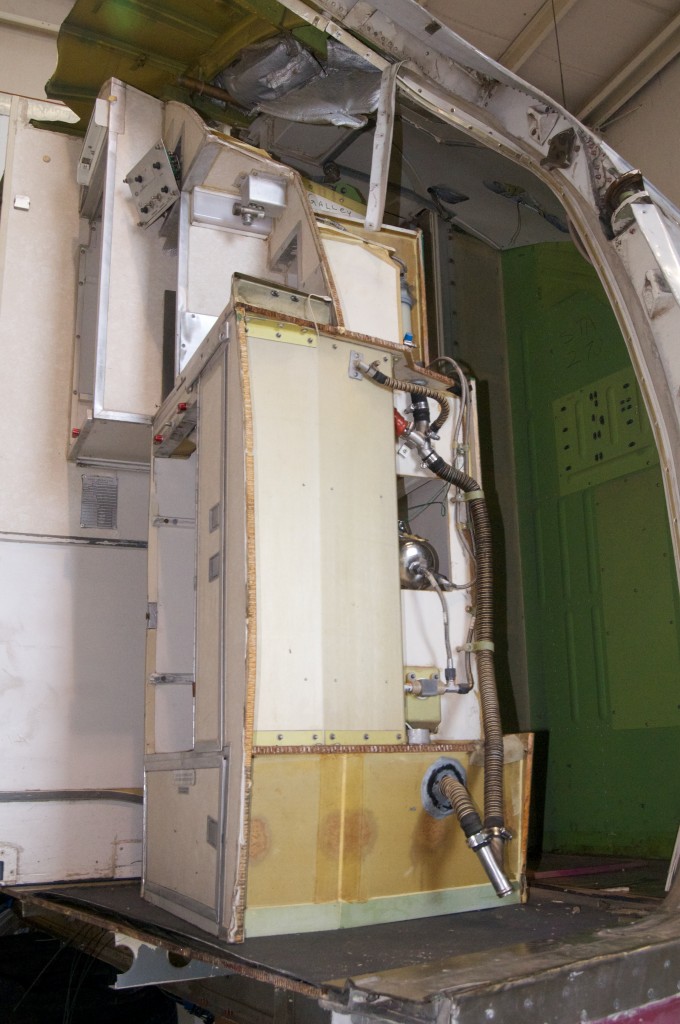
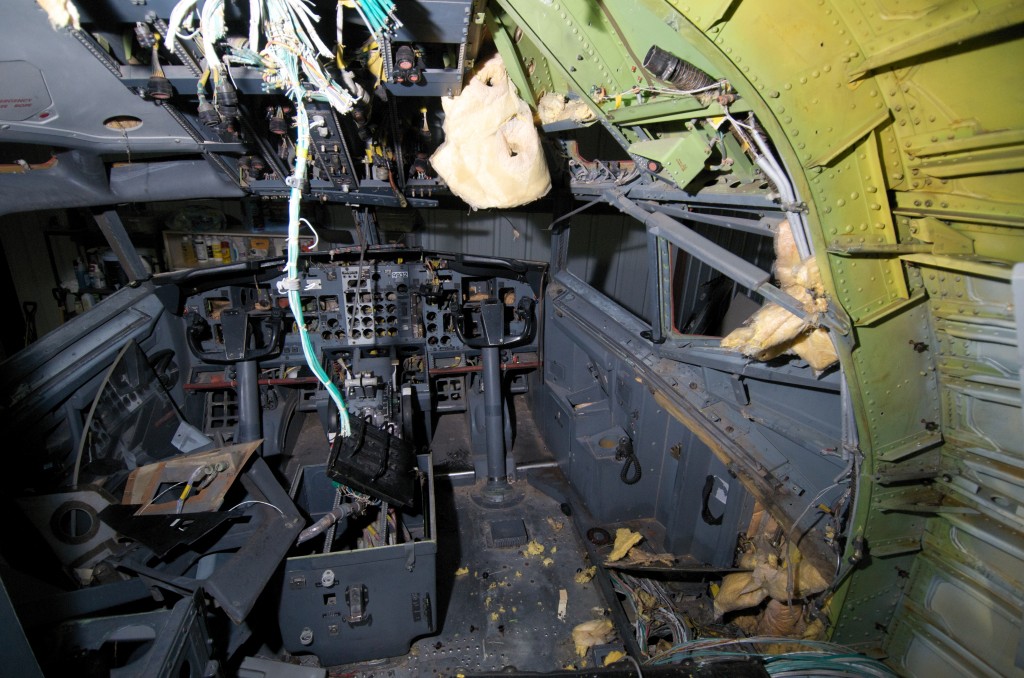
The nose section of N332UA still sits out at the airport, where I continue to remove parts from the interior in anticipation of cutting it into sections small enough to fit through the standard residential door of my walkout basement. The galley was easy enough to remove, as it is essentially a single assembly bolted to the floor, and attached to the top of the airframe by only one large pin. Removing the plumbing and electrical connections was relatively easy, especially compared to removing the lav on the captain’s side. The walls of the lav were bolted to the floor some 24 years ago, and almost every fastener was stuck enough that removal required drilling. A side benefit was that I finally figured out how to use those damaged screw removal kits they sell at Sears.

The galley, liberated. A lot of really mediocre coffee and food passed through these cubicles, some of it still stuck to the insides.
After removing the galley, the F/O side circuit breaker module comes into view.
Extraction of the F/O side circuit breaker module required removing a section of the composite floor below the galley. The assembly was attached to the airframe in at least 15 different places, only a few of which are seen here along the bottom of the zinc chromated (green) wall. Believe me, no one ever intended these things to be removable.

The disassembly phase continued to the wall of circuit breakers behind the first officer’s seat. For better or for worse, I had seen a really cool video online showing how the interior of the 737 is installed, and it was very clear (see it at 0:25 into the video) that the structure housing the circuit breakers was an assembly that rolled in and bolted to the airframe. While it was probably made to be easy to install, it was never intended to be removed  and it took a couple of days of removing wire bundles, ducting and insulation before I found all of the fasteners holding it in place. There was also quite a bit of head-scratching and occasionally swearing. Several times I was certain I had found all the screws and bolts but a vigorous shaking only revealed that it was still attached somewhere. It finally came loose and fell backwards onto the floor, with a very satisfying thud and a genuine feeling of progress.

The circuit breakers behind the F/O's seat, early on in the removal process.
The circuit breaker assembly on the F/O side, finally liberated from its many attachments to the airframe and free to fall on its back.

The wall behind the captain’s seat consists of a much smaller circuit breaker assembly, as well as a wall and a jumpseat. If anyone ever had the idea of burrowing through the front of the first class lav to break into the cockpit in flight, let me just say that it’s never going to happen!

Captain's side circuit breaker panels and jump seat.

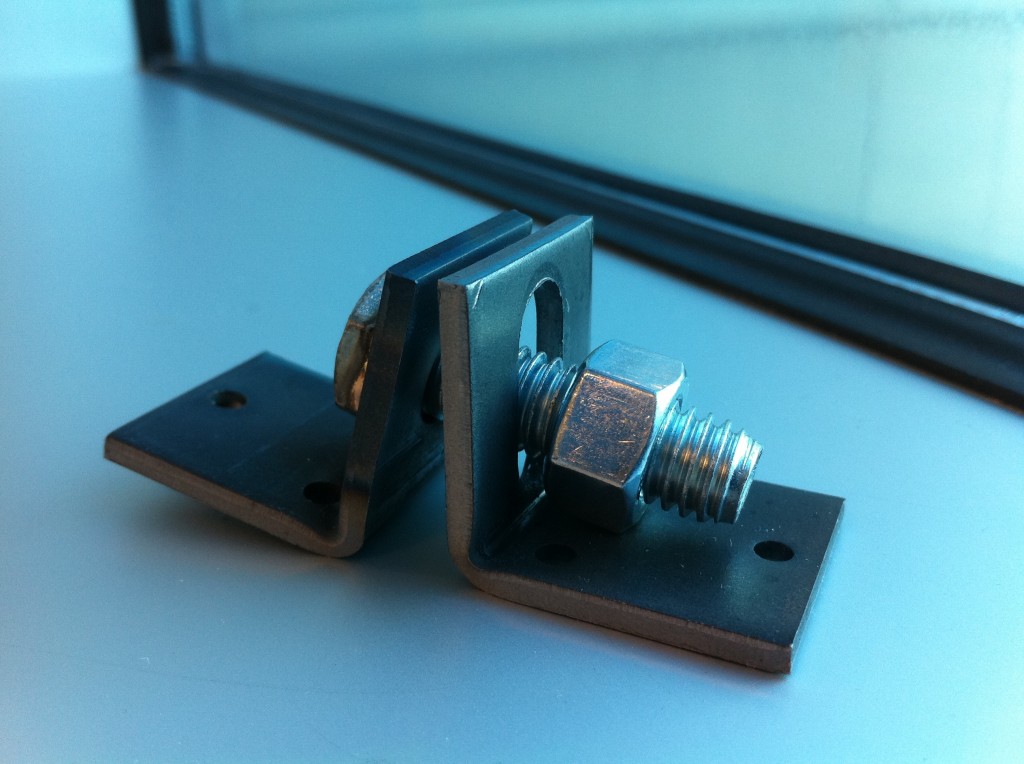
Now that I’m basically up to the rear of the crew seat area, the next step is to remove the rest of the interior so I can start cutting the structure into sections. To that end, I’ve had some paired brackets made that I will rivet into place on either side of the section lines. The hole in the receiving bracket is elongated, to allow for some play during the reassembly process. With continued good weather, I should be cutting sections within the next two weeks.

Pair of brackets ready for installation on the airframe.

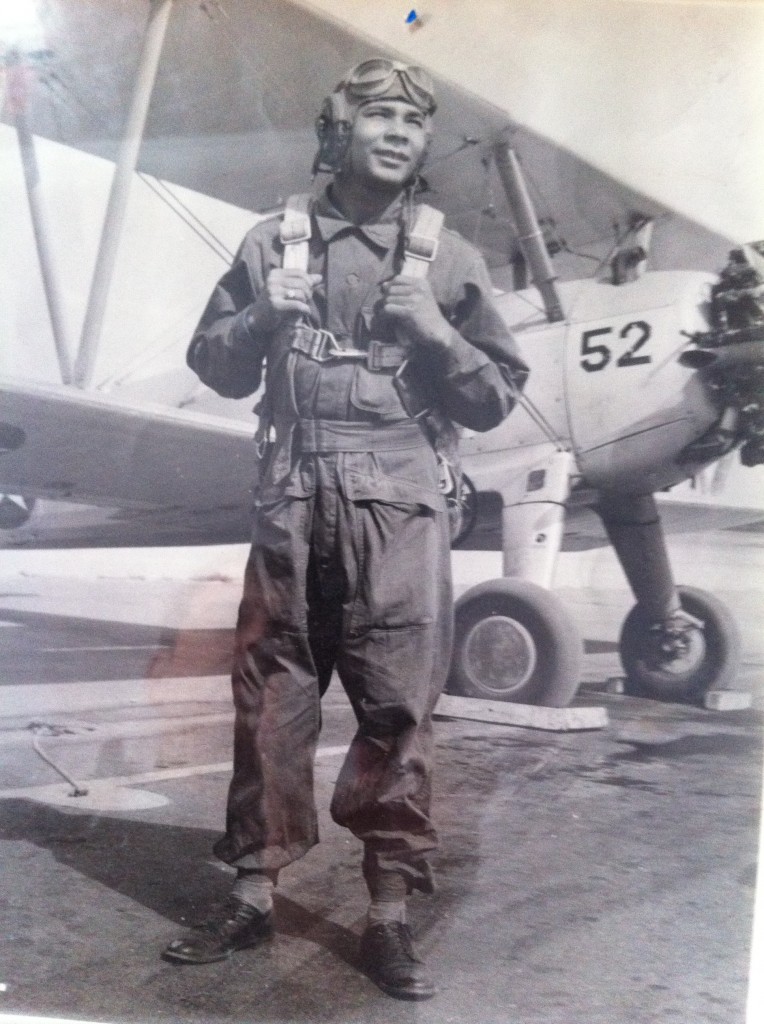
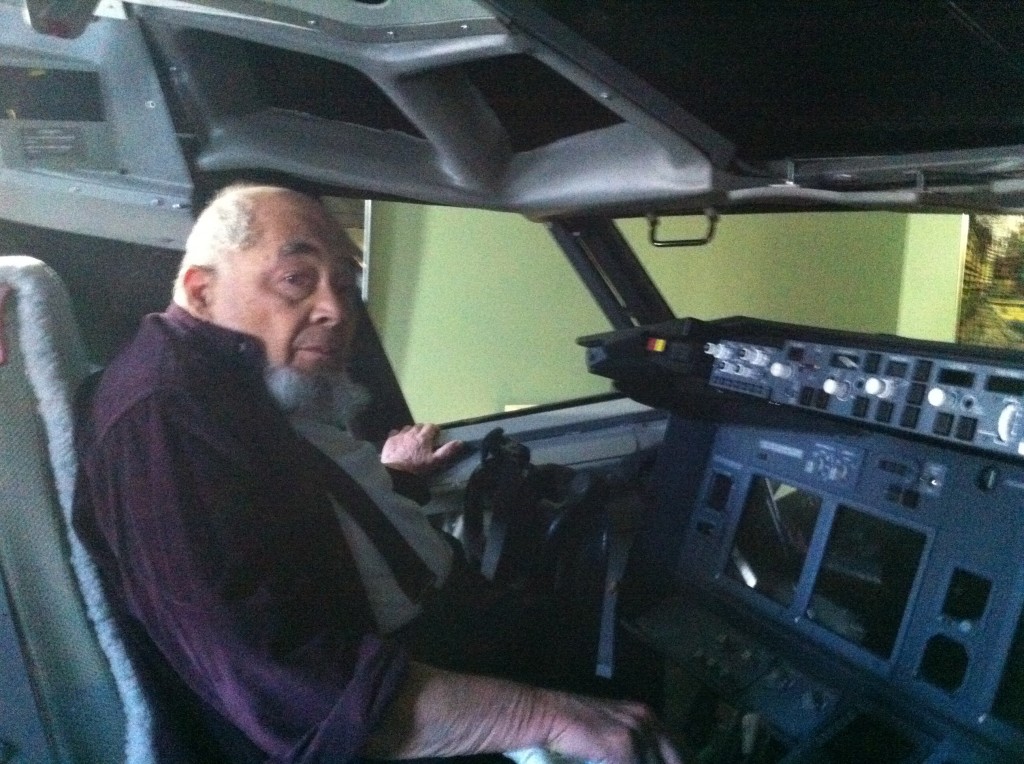
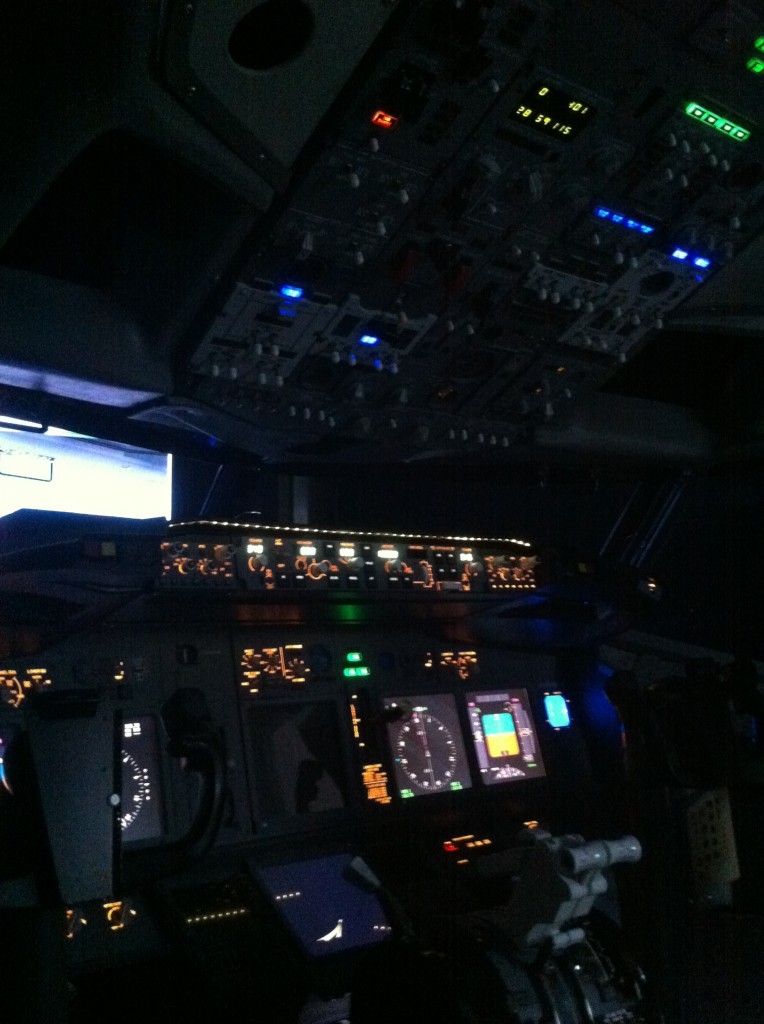
I’ve been making quite a bit of progress on another front: making a working 737 simulator for my friend Radcliffe, a WWII veteran of the Army Air Corps who learned to fly in Stearmans and T-6’s. Before he saw combat, the war ended and his flying dream ended along with it. After discharge from the military he found himself with no money and no opportunity to keep flying, so he went to work for the US Government Printing Office. In retirement he has rekindled his dream by building increasingly complex 737 simulators. Currently he has one large one in his garage and a smaller one in what used to the living room of his house. Working on this sim has been a pleasure as Radcliffe has invested in some really nice avionics from Flight Deck Solutions, Northern Flight Sim and CP Flight. This week we managed to take off and fly for a couple of hours on the autopilot, with a fully functional overhead.

Radcliffe during flight training in 1945


Radcliffe in his latest sim, formerly the living room of his house
Radcliffe's sim, complete with overhead panels from Flight Deck Solutions